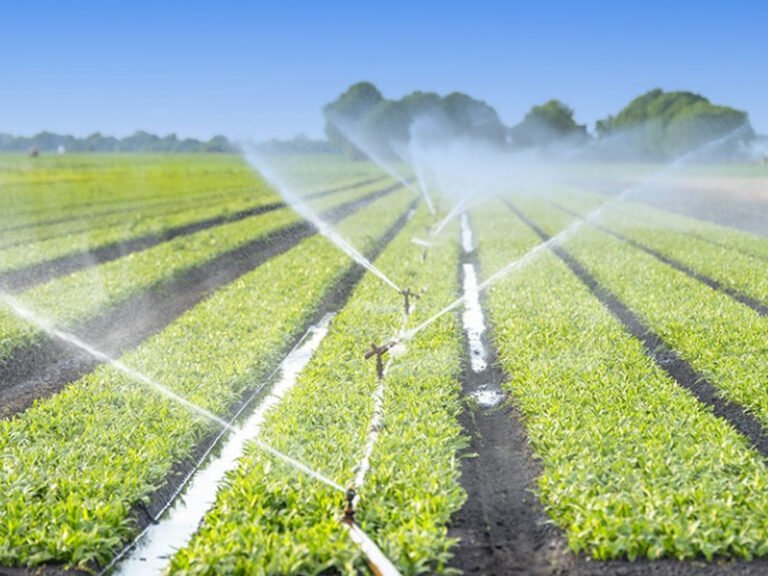
Micro-sprinkler irrigation is a watering technique that delivers pressurized water to fieldsoil and crop foliage via low-volume spraying. It is widely used in greenhouse flower cultivation, nurseries, lawns, and garden beds, offering significant water-saving and efficiency benefits.
I. Materials and Methods
Method: Pressurization via a submersible pump, with micro-sprinklers installed overhead in the greenhouse. Crops grown include flowers (chrysanthemums, roses, etc.).
System Equipment Selection: Choose components that meet the technical requirements for micro-sprinkler irrigation.
II. Operating Procedures
(A) Micro-Sprinkler System
Pressurized Water Source:
Pressure: 2.0–3.0 kg/cm².
Pump: Submersible pump with a head ≥20 m and flow rate ≥5 m³/h.
Water quality: Free of sand, weeds, and debris.
Field Head Unit: pressure gauge, #1/120-mesh filter, and fittings (elbows, tees, etc.).
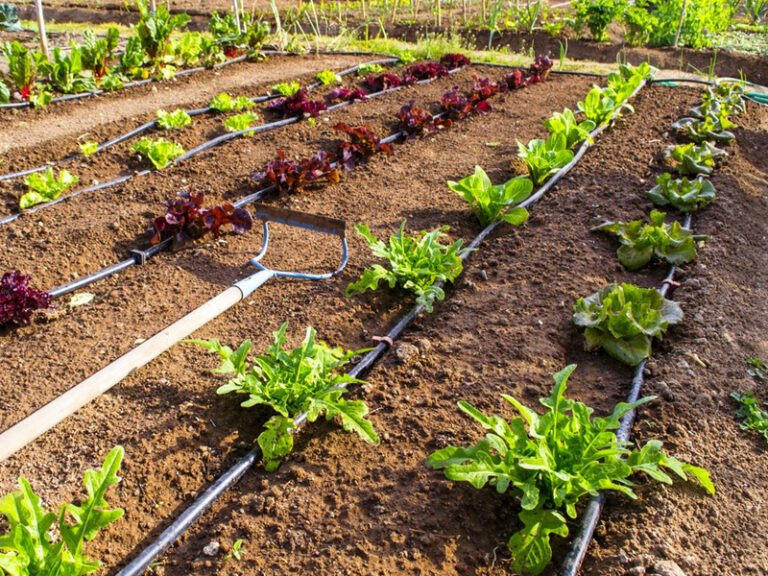
Piping:
Main Pipe: 40–50 mm diameter, UV-resistant black semi-rigid PE pipe (pressure rating: 3 kg/cm²).
Lateral Pipes: 16–25 mm diameter, UV-resistant black flexible PE pipe (pressure rating: 1–2 kg/cm²).
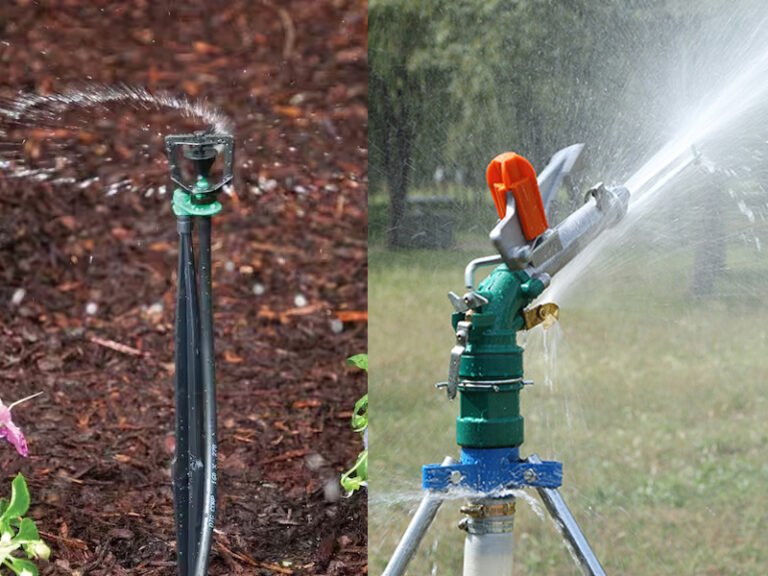
Sprinklers:
360° fogging nozzles operating at 0.1–0.2 MPa, with a flow rate of 40–60 L/h and a spray radius of 1.2–1.5 m.
(B) System Installation
Connect components in order: pressure gauge → filter (use PTFE tape on threaded joints to prevent leaks). Optionally install a fertilizer tank between the gauge and filter.
Construct a Reservoir:
Build a semi-underground, leak-proof reservoir (≥6 m³ capacity) near the water source.
Install Micro-Sprinkler Equipment:
Drill holes on the lateral pipes using a specialized hole punch, spacing sprinklers in an equilateral triangular pattern based on greenhouse size and spray radius.
Install the lateral pipes with sprinklers horizontally along the greenhouse length.
Lay the main pipe along the greenhouse width and connect it to the laterals. Seal the ends with caps.
Assemble the Field Head Unit:Connect the Pump, Head Unit, and Main Pipe.
(C) Irrigation Operation
- Pre-Fill the Reservoir:
- Fill the reservoir 2–3 days in advance with well water, tap water, or clean river water to pre-warm.
- Water Supply:
- Start the pump and monitor the pressure gauge and sprinkler performance.
- Irrigation Timing and Volume:
- Adjust based on crop type, soil moisture, and weather.
- Maintain soil moisture at 85–90% relative water-holding capacity during transplanting and ~60% in other growth stages.
- Irrigation Intervals:
- Determine based on crop needs, soil conditions, and greenhouse humidity/temperature.
(D) Fertilization
Foliar Fertilizers/Pesticides: Can be applied via the micro-sprinkler system.
Base Fertilizer: Apply a full dose as required.
Topdressing: Irrigate immediately after application to prevent leaf burn.
(E) System Management
1.Store equipment properly during crop rotation to avoid sun, rain, or folding damage.
2.Follow standardized installation and maintenance; avoid unauthorized modifications.
3.Clean filters and the reservoir regularly to prevent clogging or damage.
III. Benefits
Water Savings: 50–70% more efficient than conventional flood irrigation (using only 17% of flood irrigation volume or 40% of furrow irrigation).
Labor Reduction: Simplified operation (just pump on/off), semi-automated fertigation/chemigation, and no land leveling required.
Pest/Disease Control: Precise humidity and temperature regulation reduces pest/disease incidence, lowering pesticide use.